Buzzer
A buzzer is one of the simplest and most affordable ways to add sound to Arduino projects. It's commonly used in applications such as timers, stopwatches, fire alarms, sirens, and more.
TRAINING
2/1/20252 min read
A buzzer is one of the simplest and most affordable ways to add sound to Arduino projects. It's commonly used in applications such as timers, stopwatches, fire alarms, sirens, and more.
buzzer

How a Buzzer Works
There are two main types of buzzers: active buzzers and passive buzzers. Most active buzzers operate within a voltage range of 3.3V to 5V and produce only a single, fixed frequency sound when powered.
In contrast, passive buzzers can generate a wide range of frequencies (greater than 31Hz). To produce specific tones, they require an input signal with a particular frequency, and the tone can be adjusted by changing the frequency of the input signal.
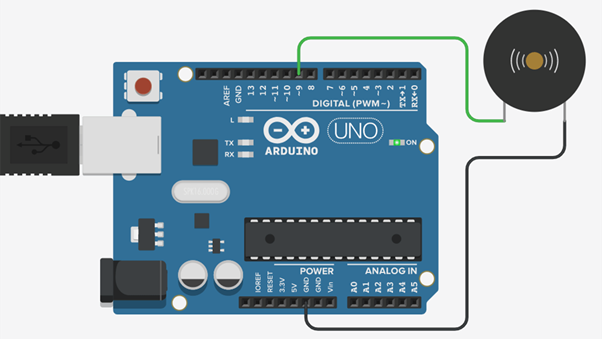
Connecting a Buzzer to the Arduino Board: A typical buzzer has two pins—one for the positive connection and one for the negative. To connect it to the Arduino, simply attach the positive pin to any PWM-capable pin on the Arduino and connect the negative pin to the ground (GND) pin of the Arduino.
How a Buzzer Works
There are two main types of buzzers: active buzzers and passive buzzers. Most active buzzers operate within a voltage range of 3.3V to 5V and produce only a single, fixed frequency sound when powered.
In contrast, passive buzzers can generate a wide range of frequencies (greater than 31Hz). To produce specific tones, they require an input signal with a particular frequency, and the tone can be adjusted by changing the frequency of the input signal.
Connecting a Buzzer to the Arduino Board: A typical buzzer has two pins—one for the positive connection and one for the negative. To connect it to the Arduino, simply attach the positive pin to any PWM-capable pin on the Arduino and connect the negative pin to the ground (GND) pin of the Arduino.
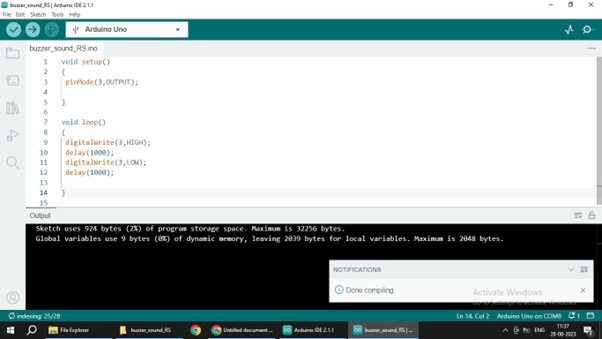
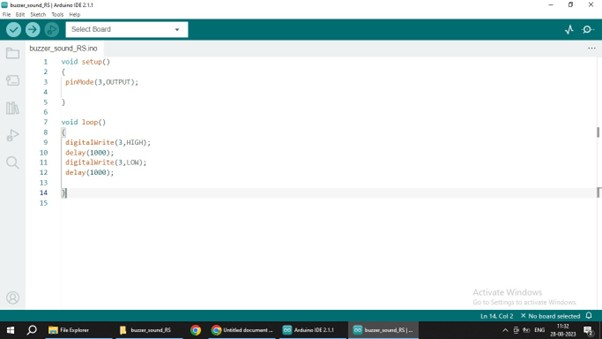
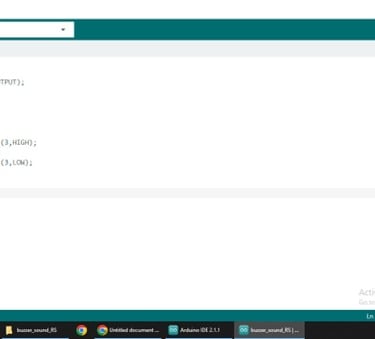
Arduino Buzzer Code and Explanations
void setup()
{
pinMode(3,OUTPUT);
}
void loop()
{
digitalWrite(3,HIGH);
delay(500);
digitalWrite(3,LOW);
delay(00);
}
A high signal sent to the buzzer pin (pin 3) activates a tone, while a low signal turns it off. The code will make the buzzer turn on for 500 ms and then off for 500 ms, producing a bip-bip-bip sound pattern.
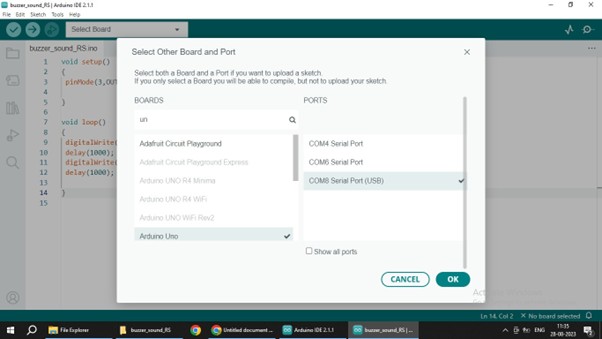
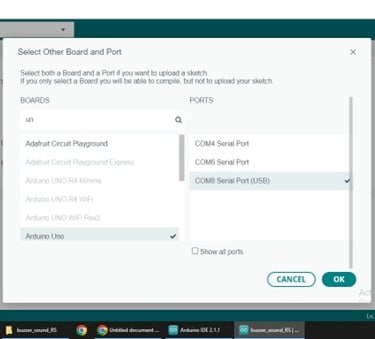
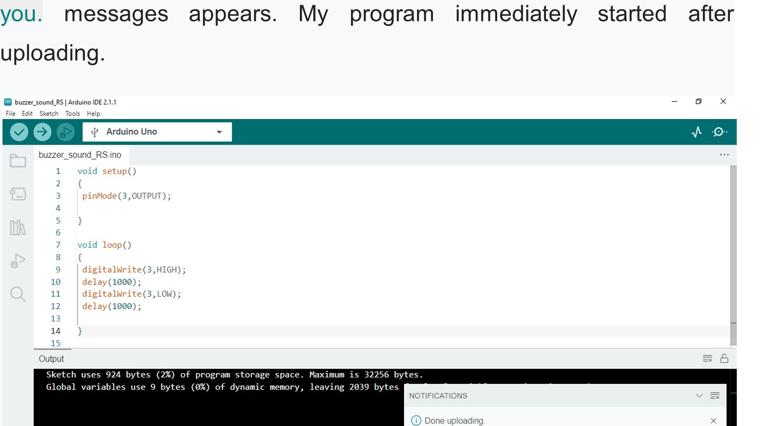
Now my program is ready to upload to the Arduino. First I connected
Arduino to the computer with the USB cable and selected the port and
board in the IDE: