
Interfacing Ultrasonic Sensor and buzzer (HC-SR04) with Arduino UNO
The HC-SR04 ultrasonic sensor-controlled piezoelectric buzzer is a flexible and budget-friendly system used for applications like object detection, obstacle avoidance, and proximity sensing. This setup integrates an HC-SR04 ultrasonic sensor, an Arduino microcontroller, and a piezoelectric buzzer, making it a simple yet powerful solution that can be customized for various needs.
TRAINING
2/3/20252 min read
Introduction:
The HC-SR04 ultrasonic sensor-controlled piezoelectric buzzer is a flexible and budget-friendly system used for applications like object detection, obstacle avoidance, and proximity sensing. This setup integrates an HC-SR04 ultrasonic sensor, an Arduino microcontroller, and a piezoelectric buzzer, making it a simple yet powerful solution that can be customized for various needs.
The HC-SR04 ultrasonic sensor determines the distance of an object by emitting high-frequency sound waves and measuring the time taken for the reflected sound (echo) to return. Based on this time, the sensor calculates the object's distance.
Connections:
Connect the VCC pin of the HC-SR04 sensor to the 5V pin on the Arduino Uno.
Connect the GND pin of the sensor to GND on the Arduino.
Connect the TRIG pin of the sensor to pin 8 on the Arduino and the ECHO pin to pin 9.
Connect the positive pin of the piezoelectric buzzer to pin 13 on the Arduino and the negative pin to GND.
Open the Arduino IDE, create a new sketch, and include the necessary library.
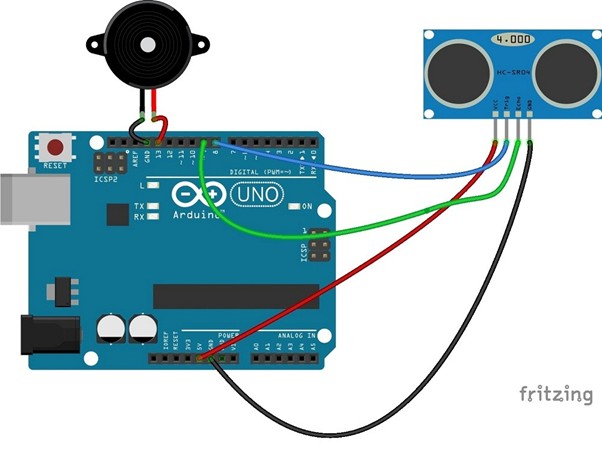
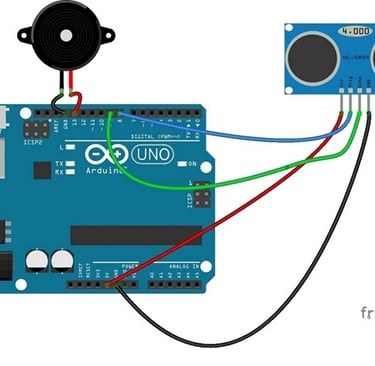
Schematic:
Follow the circuit diagram to establish the connections accordingly.
Code.
const int TRIG_PIN = 8; // Arduino pin connected to Ultrasonic Sensor's TRIG pin
const int ECHO_PIN = 9; // Arduino pin connected to Ultrasonic Sensor's ECHO pin
const int BUZZER_PIN = 13; // Arduino pin connected to Piezo Buzzer's pin const int DISTANCE_THRESHOLD = 50; // centimetres // variables will change:
float duration_us, distance_cm; void setup() { Serial.begin (9600); // initialize serial port pinMode(TRIG_PIN, OUTPUT); // set arduino pin to output mode pinMode(ECHO_PIN, INPUT); // set arduino pin to input mode pinMode(BUZZER_PIN, OUTPUT); // set arduino pin to output mode }
void loop()
{ // generate 10-microsecond pulse to TRIG pin digitalWrite(TRIG_PIN, HIGH); delayMicroseconds(10); digitalWrite(TRIG_PIN, LOW); duration_us = pulseIn(ECHO_PIN, HIGH); // measure duration of pulse from ECHO pin distance_cm = 0.017 * duration_us; // calculate the distance if(distance_cm < DISTANCE_THRESHOLD) digitalWrite(BUZZER_PIN, HIGH); // turn on Piezo Buzzer else
digitalWrite(BUZZER_PIN, LOW); // turn off Piezo Buzzer
Serial.print("distance: "); // print the value to
Serial Monitor
Serial.print(distance_cm); Serial.println(" cm"); delay(500); }
Uploading the Code and Monitoring Output
Once the code is uploaded to the Arduino board, open the Serial Monitor and set the baud rate to 9600. You should see the distance (in centimeters) displayed every 100ms. If the detected distance is less than 20cm, the piezoelectric buzzer will activate. If the distance exceeds 20cm, the buzzer will remain off.
Working Principle
The code begins by including the required libraries—specifically the Ultrasonic library, which enables communication between the Arduino and the HC-SR04 sensor. Next, the TRIG and ECHO pins are defined, and an Ultrasonic object is created.
Code Breakdown
setup() function:
Initializes serial communication at a baud rate of 9600.
Configures the piezoelectric buzzer pin as an output.
loop() function:
Uses the distance() method to retrieve the measured distance in centimeters.
Stores this value in a variable.
An if-else condition checks the distance:
If the object is less than 20cm away, the buzzer turns on, and the distance is printed on the Serial Monitor.
If the object is more than 20cm away, the buzzer turns off.
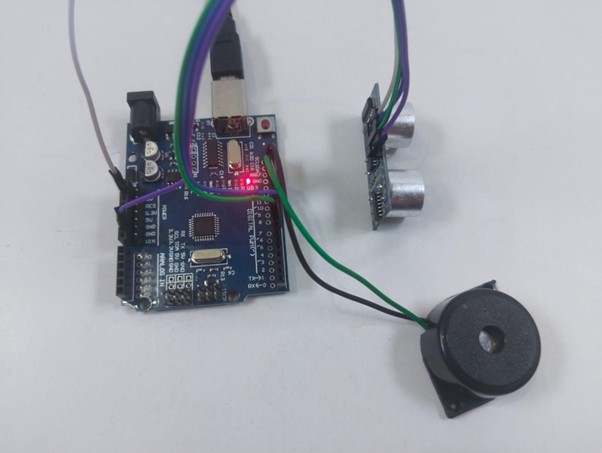
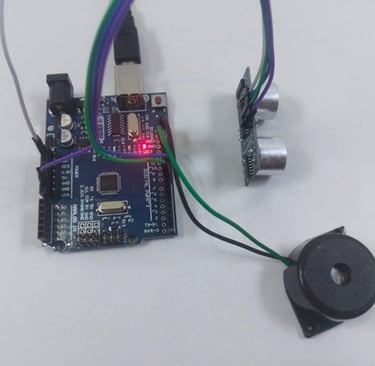
Fig: buzzer is off when there is no obstacle
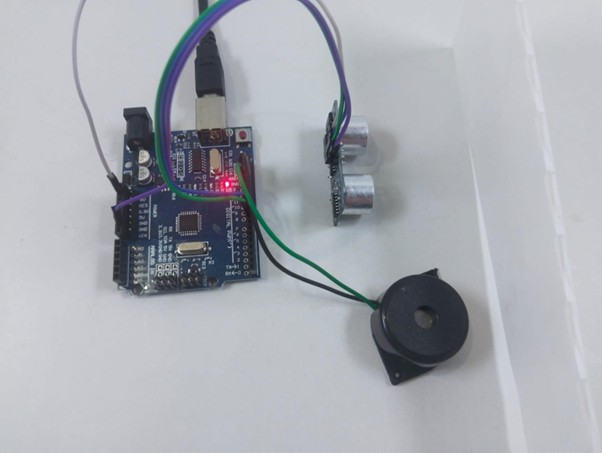
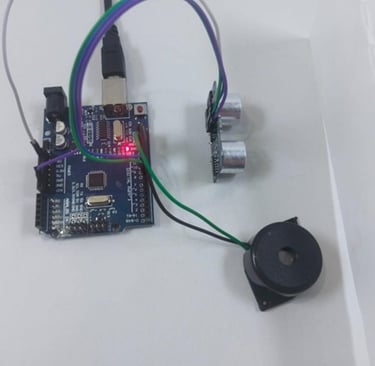
Fig: buzzer beeps in the presence of obstacle