
TESTING CODE OF ARDUINO
To test the Arduino, I chose to start with a simple blinking LED, as the code is straightforward and the output is visible directly on the board. So, I opened the Arduino IDE and began writing the code.
2/3/20251 min read
Introduction:
To test the Arduino, I chose to start with a simple blinking LED, as the code is straightforward and the output is visible directly on the board. So, I opened the Arduino IDE and began writing the code.
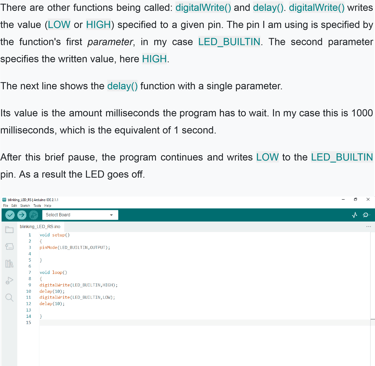
Code:
void setup()
{
pinMode(LED_BUILTIN,OUTPUT);
}
void loop()
{
digitalWrite(LED_BUILTIN,HIGH); delay(1000); digitalWrite(LED_BUILTIN,LOW); delay(1000);
}
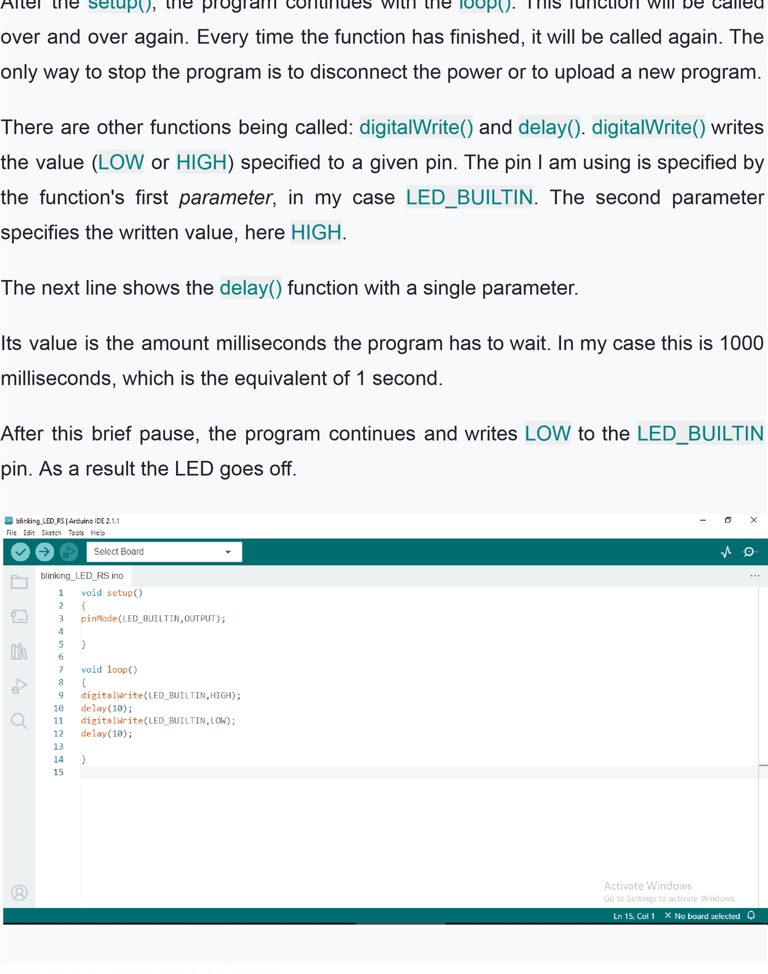
The setup() function
The code is divided into two main parts: setup() and loop().
When the program starts, it executes the setup() function once. After that, it moves on to the loop(). The setup() function is typically used to configure pins and initialize settings.
In this example, I use the pinMode function to set the LED_BUILTIN pin as an OUTPUT. The advantage of using LED_BUILTIN is that it works across all Arduino boards, even if the built-in LED is connected to a different pin
The loop() function
Now that my program is ready, I connected the Arduino to the computer using a USB cable. Then, I selected the appropriate port and board in the Arduino IDE.
In the top left, there is a round button with a checkmark. By pressing this button, I ask the IDE to verify my code for any errors. Since no errors appeared, the IDE displayed the "Compiling completed" message. To upload the code, I pressed the round button with the right arrow. The upload was complete once the "Avrdude done. Thank you." message appeared. Immediately after the upload, my program started running, and I saw the Arduino LED blinking with 1000ms intervals.
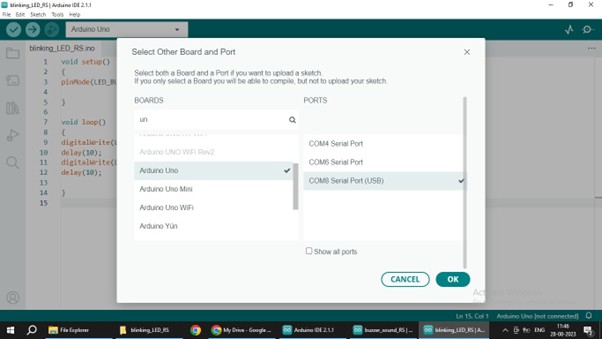
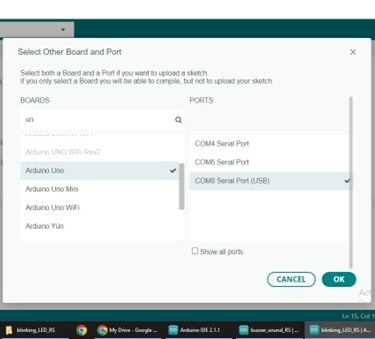
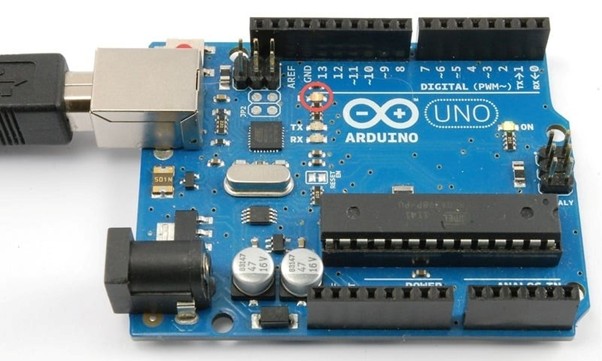
Fig:1 Arduino UNO board with Built-in LED